Introduction
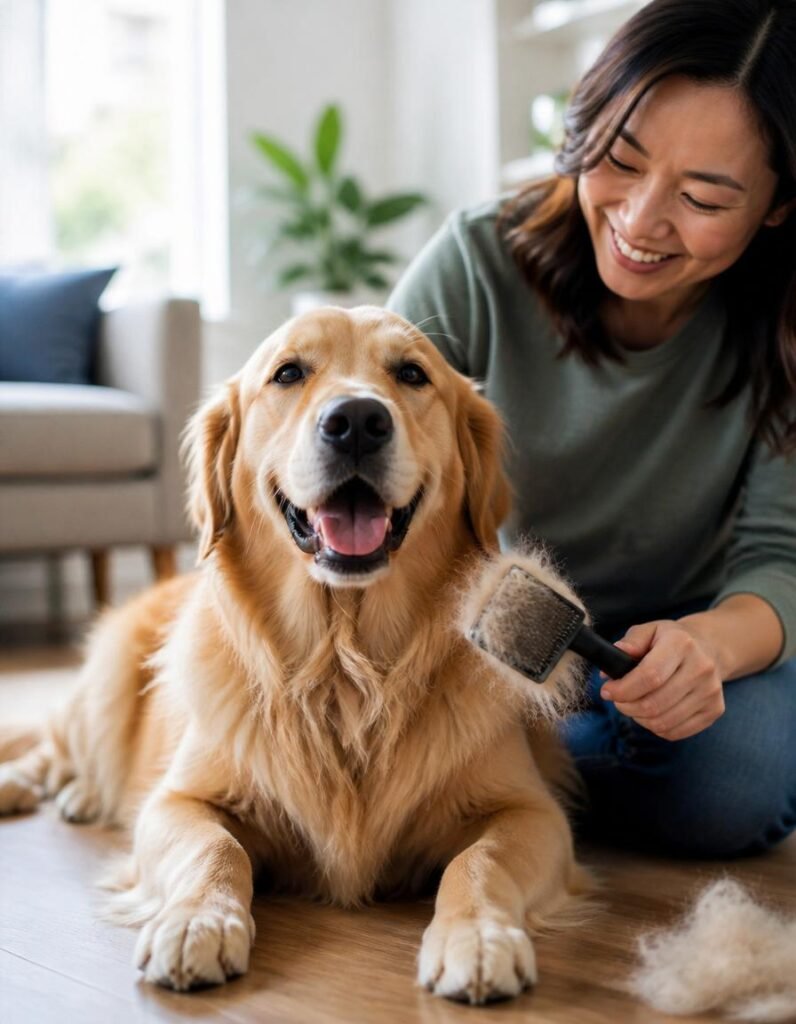
Professional grooming costs $50 to $100 per visit, and most dogs need it every 4 to 8 weeks. That is up to $1,200 a year for something you can genuinely learn to do yourself. If you want to cut down on those steep salon bills, learning how to groom your dog at home is the ultimate solution. This comprehensive beginner’s guide covers exactly how to groom your dog at home, what tools you actually need, the correct order of operations, and the common mistakes that trip up first-timers.
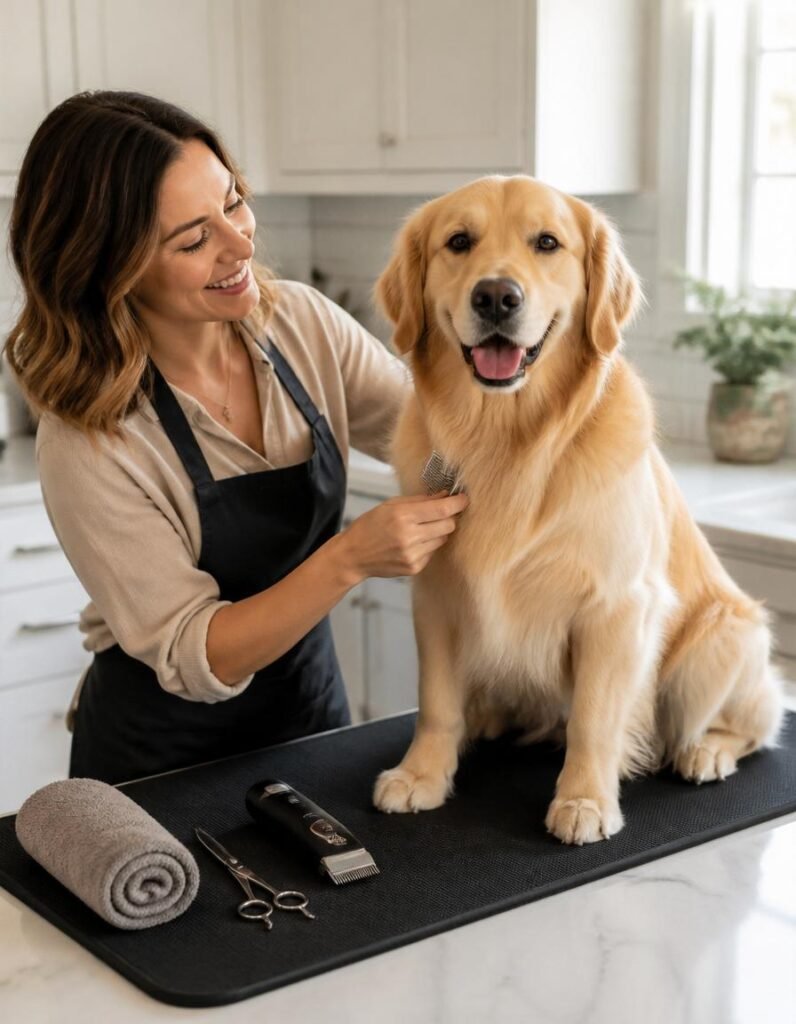
Table of Contents
- What You Actually Need (and What You Don’t)
- The Golden Rule of How to Groom Your Dog at Home
- Step 1: Brushing and Deshedding
- Step 2: Bathing Your Pet Safely
- Step 3: Drying (Don’t Skip This)
- Step 4: Clipping and Trimming the Coat
- Step 5: Nails, Ears, and Finishing Touches
- Common At-Home Grooming Mistakes to Avoid
- When to Still Use a Professional
- Final Thoughts
What You Actually Need (and What You Don’t)
The pet store will happily sell you $200 worth of specialty grooming gear. When you are just discovering how to groom your dog at home, you only need an honest, streamlined starter kit:
Essential Tools
- A Dedicated Coat Brush: Select a high-quality slicker brush, pin brush, or rubber mitt tailored specifically to your dog’s breed coat type.
- A Structural Deshedding Blade: For heavy-shedding double coats, you need an undercoat tool to manage loose fur. Check out our Furminator deShedding Tool review guide to see why it remains the industry gold standard.
- Dog-Specific Shampoo: Never use human shampoo. A dog’s skin has a completely different pH level than human skin, and human products will quickly strip their protective moisture barrier, leading to severe irritation.
- Absorbent Utility Towels: Keep several thick towels on hand that you do not mind dedicating entirely to pet cleanup.
- Electric Grooming Clippers: Invest in a reliable clipper kit that includes a variety of snap-on plastic guide combs. Our comprehensive Wahl Pet-Pro Dog Clipper review guide breaks down a beginner-friendly kit that includes all the necessary guards.
- Nail Trimmers or a Rotary Grinder: Choose heavy-duty plier-style nail clippers or a safety-guarded rotary grinder to keep claws short.
Items to Skip for Now
- Commercial Grooming Tables: A stable utility table or bathroom counter lined with a heavy, non-slip rubber bathmat works perfectly.
- High-Velocity Dryers: Standard towels paired with a bit of patience are sufficient for the vast majority of beginner coat styles.
- Specialty Scissor Bundles: A single pair of sharp, professional straight grooming shears with rounded safety tips covers all early trimming needs.
- Scented Colognes and Detangling Sprays: Keep things simple at the start to avoid clogging your dog’s coat or irritating their sensitive skin.
The Golden Rule of How to Groom Your Dog at Home
If you only remember one single rule from this guide on how to groom your dog at home, let it be this: never bathe a matted or unbrushed dog.
Water acts like a hydraulic press on loose tangles, instantly tightening active mats into rock-solid, felted knots. Once wet, these dense mats are nearly impossible to untangle and typically have to be completely shaved out down to the bare skin to protect the dog.
Brushing your dog thoroughly before they ever touch a drop of water prevents 90% of all DIY disasters when executing how to groom your dog at home routines.
Step 1: Brushing and Deshedding
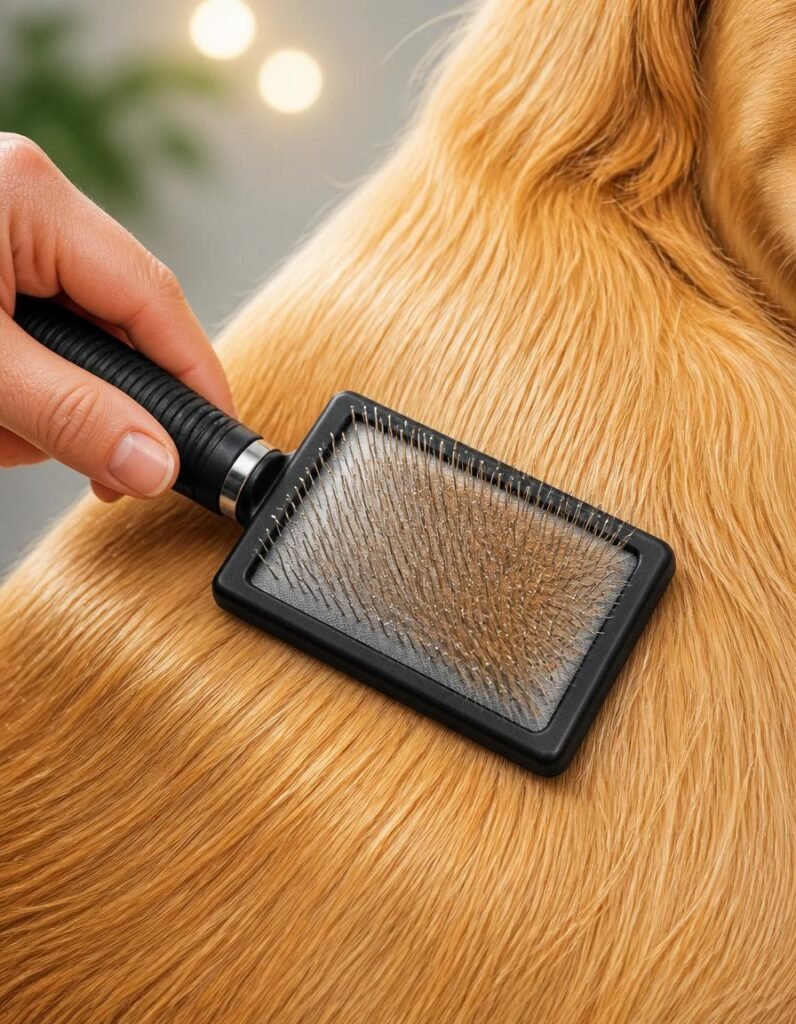
Begin your routine with a full, comprehensive brush-out. Always move the brush smoothly in the natural direction of hair growth. For double-coated breeds—such as Labrador Retrievers, Golden Retrievers, German Shepherds, and Huskies—follow up your baseline brushing with an undercoat tool. This specific step is where the real magic happens for long-term household shedding control.
Work systematically in isolated body sections: start with the back, then move to the sides, the chest, the legs, and finally the tail. Keep your initial sessions to a brief 10 to 15 minutes, using very light, consistent pressure. If your brush hits a tough mat, avoid pulling at the skin. Instead, gently work the knot apart from the outer edges inward using your fingers and the edge of your slicker brush.
Recommended Frequency: Aim for 1 to 2 thorough brushings per week for standard maintenance, and transition to daily sessions during the peak spring and fall shedding seasons.
Visual Guide Overview
If you are visualizing the process, a standard routine involves a sequential flow from brushing to bathing, drying, and final nail trimming. Setting up a dedicated workspace makes these manual steps seamless for your pet.
Step 2: Bathing Your Pet Safely
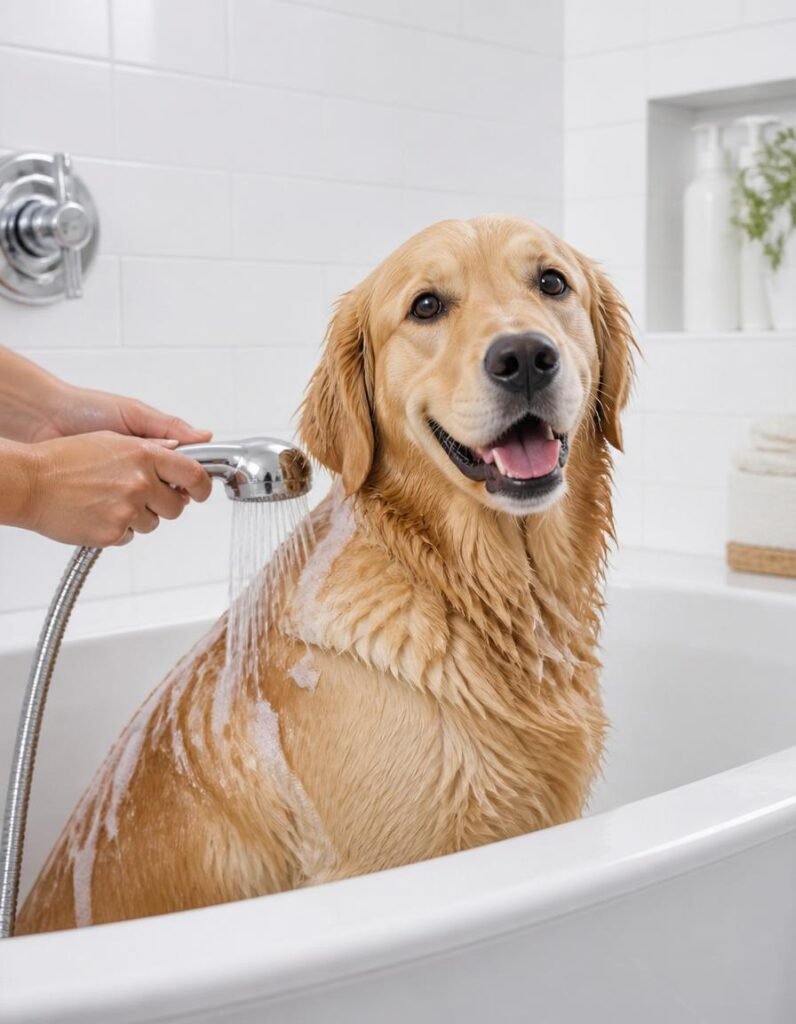
Always fill your basin or tub with lukewarm water; hot water easily irritates a dog’s skin and elevates their core body temperature. Wet your dog’s coat completely down to the skin—dense double coats take significantly longer to saturate than you think—and work a dollop of dog-specific shampoo into a rich lather, starting at the neck and massaging backward toward the tail.
Keep these two critical tips in mind to avoid common mistakes:
- Protect the Face Completely: Never pour running water or squeeze shampoo directly over your dog’s head. Instead, clean their delicate facial features using a soft, damp washcloth without soap.
- Rinse Twice as Long as You Think Necessary: Leftover shampoo residue trapped in the undercoat dries out the skin, causing severe scratching, flaking, and bacterial hot spots. When you think you are completely finished rinsing, run the fresh water for another two minutes just to be entirely sure.
Most domestic breeds only require a full bath every 4 to 8 weeks unless they happen to roll in mud or debris. Over-bathing strips away essential natural oils, which can lead to chronic dryness and skin problems.
Step 3: Drying (Don’t Skip This)
Towel-dry your pet’s coat thoroughly using a firm squeeze-and-press motion. Avoid aggressive, circular friction rubbing, as vigorous towel wiping actively creates micro-tangles in long hair. For extra-thick coats, switching to a second or third dry towel is much more effective than relying on a single soaked one.
If you choose to use a standard household hair dryer, always lock it onto the coolest heat setting, hold the nozzle at least six inches away from the coat, and keep the airflow moving continuously. Hot air settings will burn sensitive skin remarkably fast.
Critical Safety Reminder: Never attempt to use electric clippers on a damp or wet coat. Clipper blades will pull wet hair painfully, clog the motor, and cut unevenly. Ensure the coat is 100% dry before touching any trimming hardware.
Step 4: Clipping and Trimming the Coat
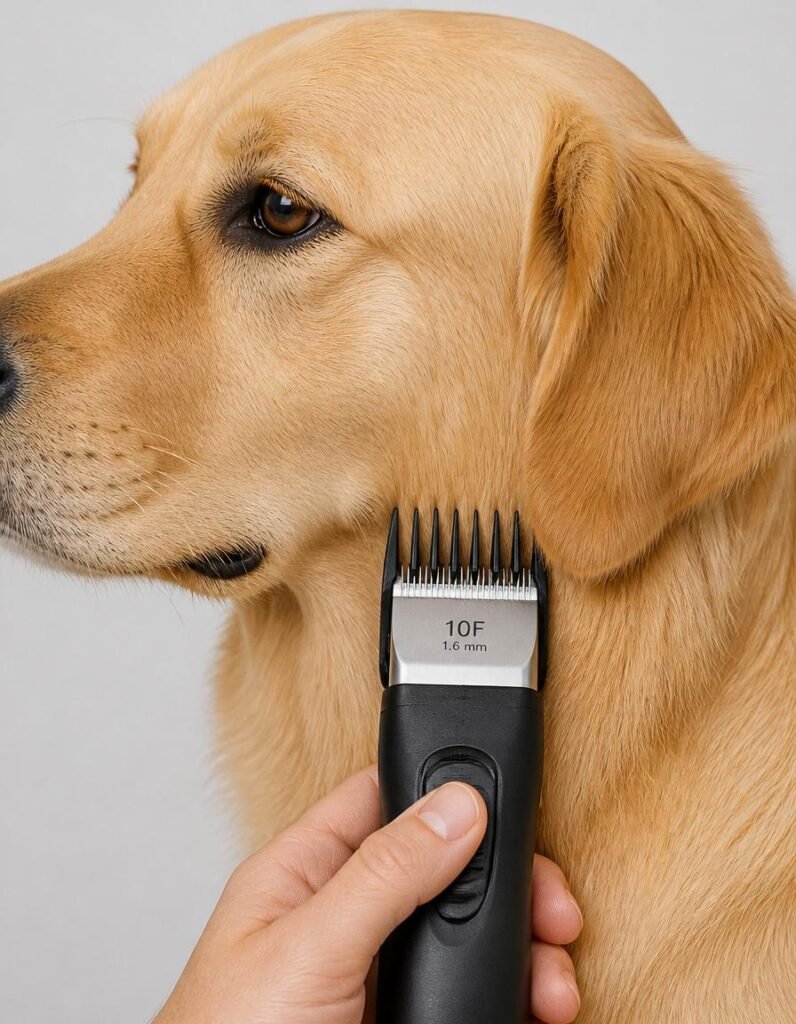
When learning how to groom your dog at home, the golden rule for body clipping is simple: use longer guard combs, make slow, steady passes, and work in a room with excellent lighting.
- Select a plastic guide attachment that is one or two sizes longer than your target length. You can always take more hair off later, but you cannot put it back if you cut it too short.
- Guide the clipper blade smoothly in the exact direction of the hair growth using light pressure. Let the mechanical motor do the physical cutting work instead of forcing it forward.
- Keep the flat metal face of the blade resting parallel against the contours of the body. Never angle the sharp tips of the blades downward toward the skin.
- Pause frequently to touch the metal blade with your palm. Clipper blades heat up rapidly due to friction, and a hot piece of steel pressed against skin will cause razor burns and make your pet hate the grooming process.
- Save the delicate areas—like the paws, face, and sanitary zones—for the very end of the session, and only attempt to trim them when your dog is completely calm.
Step 5: Nails, Ears, and Finishing Touches
- Nail Maintenance: Clip only the very tip of the claw, staying well clear of the “quick”—the highly sensitive internal blood vessel visible as a pink core inside light-colored nails. For solid black nails, snip off tiny, paper-thin slivers at a time. If you hear their claws clicking loudly against hard floors when they walk, the nails are overdue for a trim. Many beginners find an electric rotary grinder much easier to control than standard manual clippers.
- Ear Cleaning: Gently wipe down the visible inner flap of the ear using a cotton pad lightly dampened with clean water or a vet-approved ear flush. Never insert cotton swabs or tools directly into the dark ear canal. If you notice dark discharge, a strong odor, or constant ear scratching, schedule a routine vet visit instead of trying to clean it out yourself.
- The Reward Party: End every single grooming session with high-value treats and praise. Building a strong association between handling and rewards ensures your dog becomes more relaxed and cooperative with each session.
Common At-Home Grooming Mistakes to Avoid
Understanding how to groom your dog at home successfully means knowing what traps to avoid. Keep these common missteps on your radar:
- Bathing the dog before clearing out existing mats (the #1 disaster-maker).
- Applying human cosmetic shampoos to a dog’s distinct skin pH.
- Attempting to run clippers through damp or wet coats.
- Pushing the clipper blade firmly into the skin instead of gliding parallel.
- Hurrying the process and cutting the nail quickly on the first attempt.
- Running exhausting, marathon sessions; keep your early blocks under 30 to 45 minutes.
- Forgetting to give frequent treats, turning a routine task into a stressful battle.
When to Still Use a Professional
While mastering how to groom your dog at home covers standard monthly maintenance, you should still leverage a professional groomer or veterinarian for advanced situations:
- Managing severe, tight matting down to the skin (shaving pelted mats safely requires specialist skills).
- Handling dogs displaying intense grooming-related aggression or severe panic attacks.
- Crafting intricate, breed-specific show profiles (expert styling for Poodles or Doodles is genuinely difficult).
- Performing routine anal gland expressions if your veterinarian explicitly recommends it.
A smart, cost-effective hybrid approach used by many owners is booking a professional salon visit 2 to 3 times a year for a baseline structural reset, while handling all the intermediate bathing, deshedding, and maintenance trims right at home. For breed-specific guidelines regarding unique coat properties, you can consult the official grooming standards directory provided by the American Kennel Club (AKC).
Related reading: dog wipes that are safe to lick and the best dog hair removers.
Final Thoughts
Figuring out how to groom your dog at home isn’t about transforming into a master stylist overnight. It is simply about taking control of your dog’s foundational hygiene, saving a substantial amount of household money, and transforming a chore into a calm, regular bonding routine.
Start small: focus entirely on a thorough brush-out this week, try a proper bath the following week, and introduce light clipper work only when you both feel relaxed. Once you learn how to groom your dog at home, the mechanical skills compound quickly, your personal savings grow over time, and your dog will learn exactly what to expect. With an initial equipment investment of under $80, you can easily save between $300 and $1,000+ every single year.
Note: E-commerce pricing for specialized clipper guards and grooming tools changes based on marketplace volume. Always check product specifications and weight ratings before completing an order.
Disclosure: We want to be entirely transparent that Daily Pet Picks is a proud participant in the Amazon Services LLC Associates Program designed for independent product reviewers, an affiliate advertising program built to allow websites to earn small advertising fees by linking directly to product listings. This means we may earn a small commission if you purchase through our links, at absolutely no extra cost to you.